
Properties and actions
To control the behavior of the Resampler I/O, several properties and actions are available.
These can be accessed through a popup menu which is shown when the I/O is right clicked in the Object screen.
The properties can also be accessed through its settings window which is shown when the I/O is double clicked in the Object screen.
To open the Object screen, click the  Show object screen button.
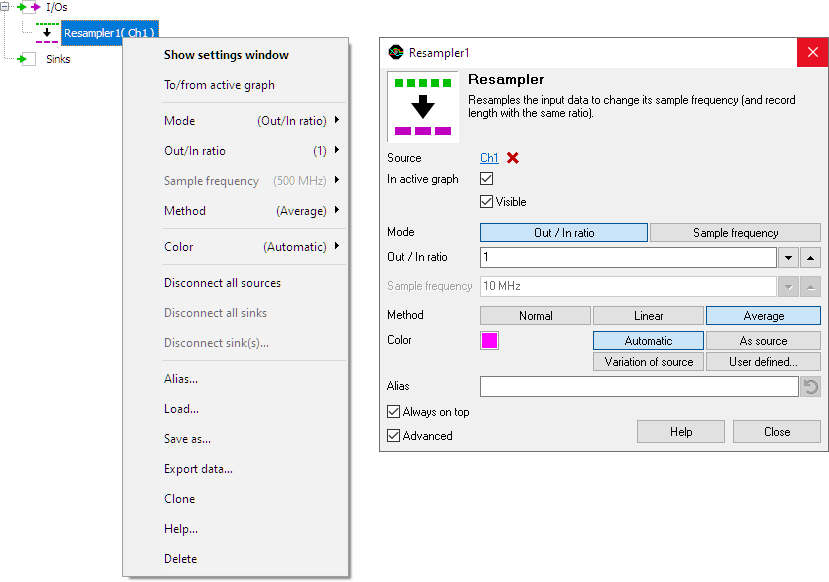
By default, the settings window only shows the most used settings. When Advanced is ticked, the extended window with all settings is shown. See also the program settings.
Mode
The Mode property determines how the Resampler I/O is setup: for a required out/in ratio or for a required output sample frequency.
Out / In ratio
The Out / In ratio property defines the ratio between the output sample frequency and the input sample frequency. Several standard values are available, as well as a user defined setting. When the sample frequency of the input signal changes, the sample frequency of the output signal will change accordingly.
Sample frequency
The Sample frequency property sets the output sample frequency of the Resampler I/O to the specified value. Several standard values are available, as well as a user defined setting. The Out/In ratio will be calculated automatically, based on the sample frequency of the input signal. When the sample frequency of the input signal changes, the sample frequency of the output signal will remain the same, a new ratio will be calculated.
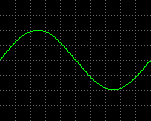
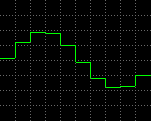
Method
The Method property determines how the data is resampled:
Normal
- When the ratio is smaller than 1, only one sample of the input data is used for each output sample.
- When the ratio is greater than 1, several samples in the output data are filled with each input sample.
| IN | ratio | OUT |
 |
→ 1/10 → |  |
| 100 Samples | 10 Samples | |
 |
→ x10 → | 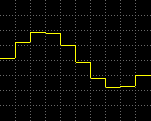 |
| 10 Samples | 100 Samples |
Linear
- When the ratio is smaller than 1, only one sample of the input data is used for each output sample.
- When the ratio is greater than 1, the output data is a linear interpolation of the input data.
| IN | ratio | OUT |
|
→ 1/10 → | 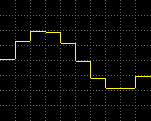 |
| 100 Samples | 10 Samples | |
|
→ x10 → | 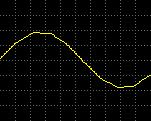 |
| 10 Samples | 100 Samples |
Average
- When the ratio is smaller than 1, the mean value of several samples of the input data is used for each output sample.
- When the ratio is greater than 1, the output data is a linear interpolation of the input data.
| IN | ratio | OUT |
|
→ 1/10 → | 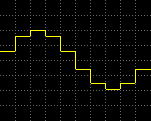 |
| 100 Samples | 10 Samples | |
|
→ x10 → |  |
| 10 Samples | 100 Samples |
Common properties and actions
Related information
