Contents
User presets
When you have several often used measurement setups, an easy and convenient way to handle these is to store them as user presets. A user preset contains instrument settings, software desktop settings like which I/Os are used and what is being shown in the graph(s), etc. and measured data.
A user preset is stored with the software and is then accessible via a User preset button on the preset toolbar.

Buttons that have a user preset assigned, are enabled and show a colored icon:

Buttons that do not have a user preset assigned, are grayed, showing a gray icon:

Creating a User preset
To create a user preset, you first have to setup the software and instrument for the specific measurement application. Once the setup is ready, you can create the user preset by pressing the Ctrl key and clicking one of the user preset buttons.
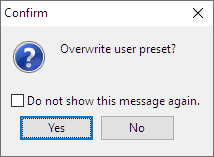
When a button is clicked that already has a preset assigned, the software will ask for a confirmation if the existing user preset can be overwritten.
When an unassigned button is clicked, the current setup is assigned to that button. The button is now no longer grayed. When the highest unassigned button was clicked, a new, unassigned button with a higher number will be added. A maximum of 20 user presets can be assigned this way.
Loading a user preset
To load a specific user preset, all that needs to be done is clicking the corresponding button. All settings will be loaded from the user preset and measuring with that setting can immediately start.
Clearing a user preset
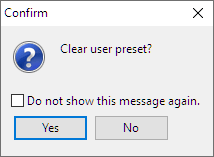
When a preset is no longer required, the preset location can be cleared. To clear a user preset, press the Ctrl and Shift key together and click the preset button of the user preset to clear. A confirmation dialog will be shown:
When the user preset is cleared, the location becomes available again for a new user preset. When more preset locations are assigned, clearing one of the middle preset locations will unassign that location, leaving all other locations unchanged. When the cleared user preset was the highest assigned preset, all unassigned preset buttons higher than the now highest assigned preset button minus one will be removed from the toolbar.
Naming a user preset
When multiple presets are assigned, it may be difficult to find the proper preset for an application. When the user preset buttons are hovered with the mouse, a hint is shown, containing the title of the corresponding preset and an overview of the preset handling commands. When no title is given yet, the hint shows User preset and the corresponding number of the preset.
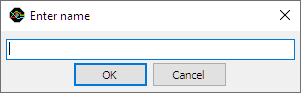
To give a user preset a title, press the Alt key and click the corresponding user preset button. A dialog to enter a name for the user preset is shown.
To clear an existing name for a user preset, empty the edit box and click the OK button.
User preset Worksets
The User presets can be ordered in Worksets, allowing to create one or more worksets for different applications, each with one or more user presets. The Multi Channel oscilloscope software can handle an unlimited amount of worksets, with each up to 20 user presets. Initially, the Multi Channel oscilloscope software has only one default workset, where all user presets are stored.
Add a workset
To add a new workset, click the  Worksets button and select Add workset ... from the menu that pops up.
A dialog is then shown in which the name for the workset can be entered.
When an existing workset name is entered, a warning is displayed and a new name can be entered.
Worksets button and select Add workset ... from the menu that pops up.
A dialog is then shown in which the name for the workset can be entered.
When an existing workset name is entered, a warning is displayed and a new name can be entered.
Worksets are stored on disk, in separate directories for each workset. The name of the workset is used as directory name. When this directory for the workset can not be made, a warning is given.
After creating the new workset, it is also set as active workset. The new workset is empty, it can now filled with new user presets.
Select a workset
When more than one workset is available, a specific workset can be selected by clicking the
Worksets button and selecting the required workset from the menu that pops up.
The user presets toolbar will now be filled with buttons for the presets in the workset.
When a user preset will be created, modified or cleared, it will be done in the selected workset.
Remove worksets
When a workset is no longer required, it can be removed from the software.
Click the
Worksets button and select Remove worksets ... from the menu that pops up.
That opens a dialog where all worksets can be selected to be removed.
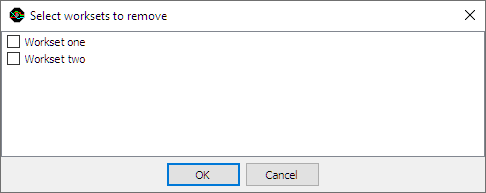
All user presets in the workset as well as the workset itself will be removed. This is a permanent, non-reversible operation. The default workset can not be removed. After removing one or more worksets, the default workset is activated.